One of the reasons that we fell in love with our house was because of all the built in storage.
Even love the period typical closets.
This is, as you can guess, the one in the wood room. The closet is smaller, but there is a built in dresser, complete with dividers in the smaller drawers so you can organize your undies and such.
This one is going to stay just the way it is. The wood has aged together, so it should stay together.
The one in the bedroom is a different story. The doors are all chipped, they don't stay shut and the drawers are worn down.
Sure, I could have torn the built in out and put in a modern closet like this. But we are trying to maintain the character of our home, not take it away.
I wanted something rustic looking that would go well with our little farm house. The carpenter that did the rest of the work in the house has been very sick so I had to look for a new one.
Carpenters must be very busy in that area because I didn't get one response. From all those that I contacted, not one.
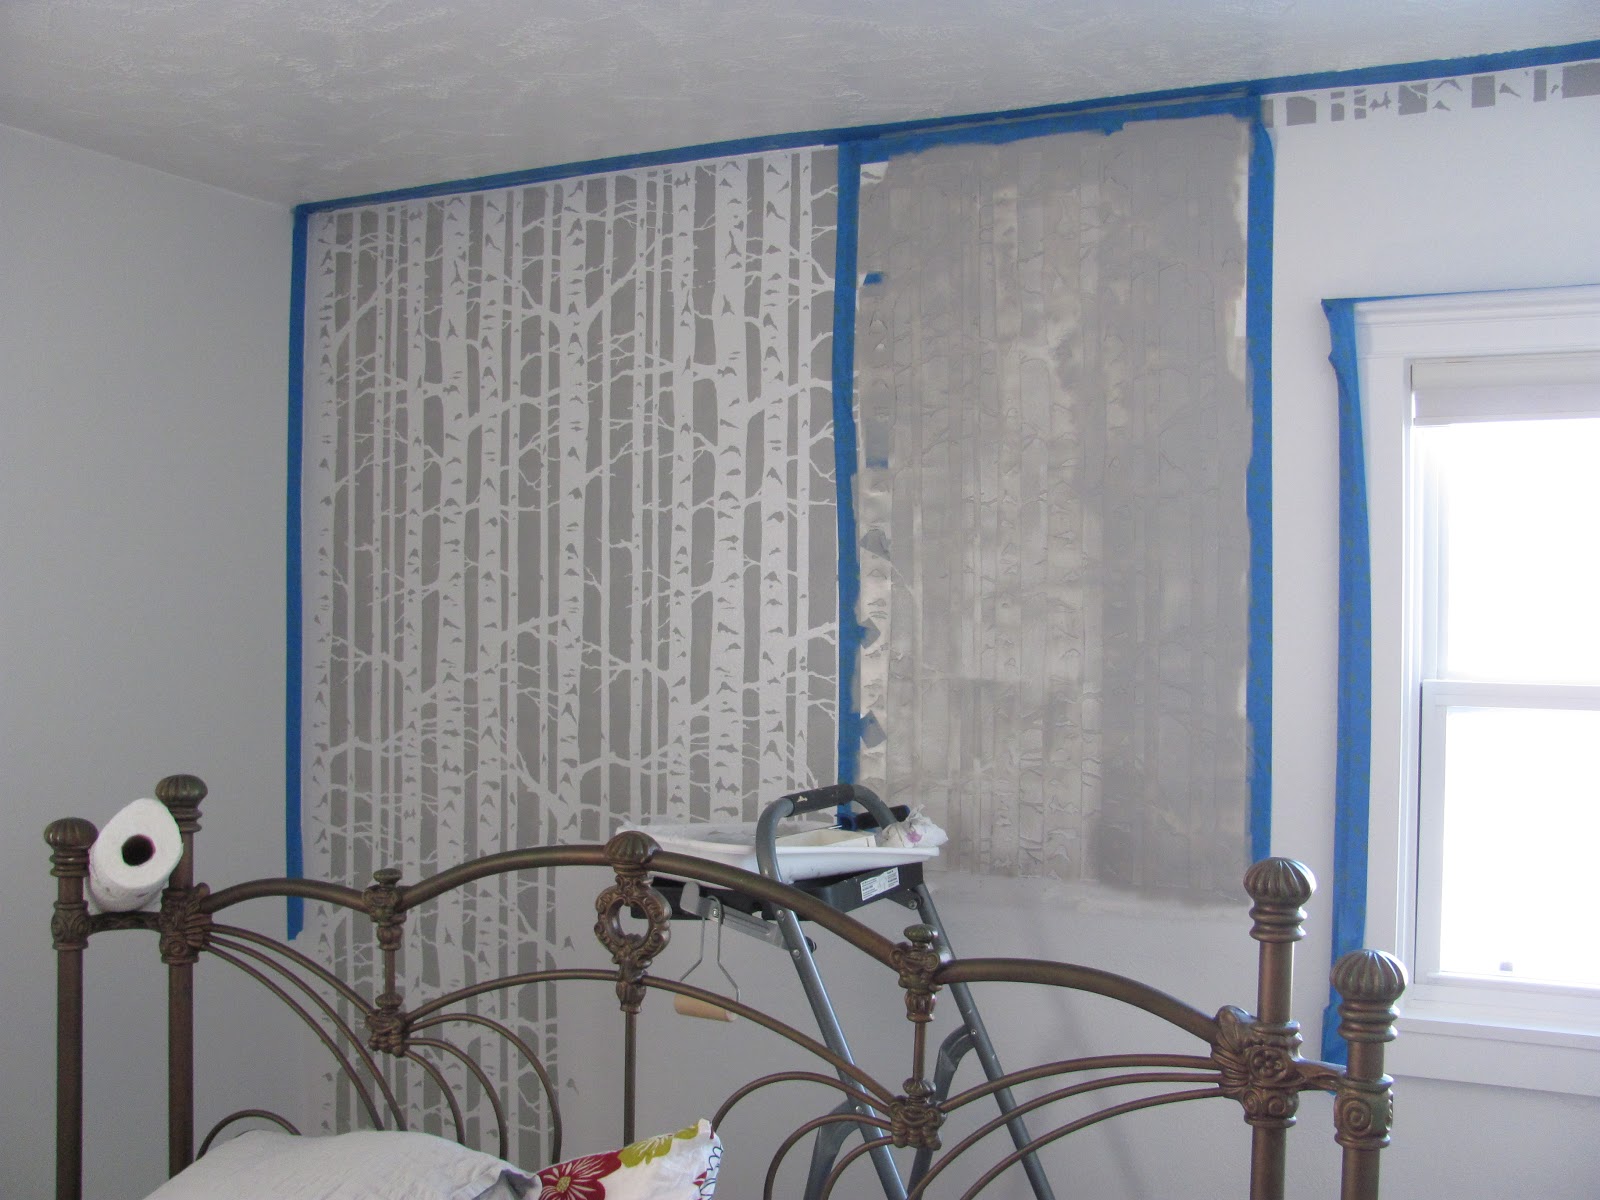
It's not like we were in a hurry, so it was ok for it to stay the way it is. When I painted the bedroom I did take off the doors and put them out in the shop... might be able to put them to good use later.
Last Fall, before our last trip I was browsing craigslist and came across an ad for a carpenter offering his services. They had a website and I checked it out, looked like good workmanship, so I contacted him.
To my great surprise he got back to me and we arranged a meeting for during our trip.
And this is what came out of it. TA DA!
I love the wood grain, love the farm look of it. I also see that I will have to touch the wall up a bit too.
So, for the top, I decided against putting the doors back on. I want to put curtains up and wouldn't be able to open the door fully because of the curtain hardware. I know that I would wind up getting the door all dinged up, so no doors. Right now I have my winter clothes stored in fabric boxes that I'd like to put back up in that open space. I'll hunt till I find the right thing to put up in there.
Just like in the kitchen, I don't mind keeping the old insides....for now.
But I will save my pennies, better my carpenter skills and somewhere down the line I'll line it with cedar.
Hoping to get pictures from a bit further away soon! I just couldn't wait to share.
Aloha a Hui Hou!
PS: Thanks to my friend Peggy for taking pictures for me!