Showing posts with label Art. Show all posts

Tuesday, June 25, 2013

A Little Repurposing

As you can tell by my absence - we are really busy and working hard around the ranch.

In July our contractors come back to start a big project on the exterior of the house - we are getting a new roof for the porch, extending it and enclosing it - can't wait.

I'll fill you in on the details of that later Now I want to tell you about this project, that has something to do with the porch.

When we bought the house my mother in law gave us several boxes with stuff "that we might be able to use" but just never got around to looking at….On this trip I did and deemed that a lot of it was yard sale material and I almost put these in the yard sale pile when an idea hit me…


I could make something out of these….just had to see if I could get the other part I needed.

Went to several stores and finally found what I was looking for at the world market store.

Click photo for source

I picked the 30 light set and I'm thinking right about now you are getting an idea of what's going to happen here…

Right!

I'm going to use the jello molds as lampshades!

But I didn't have enough. I got really lucky at the thrift store and got a bunch for less than two dollars, but it still wasn't enough.

I checked eBay and there were a lot to be had there, just the prices were all over the place and I would still have to pay shipping.

Wound up getting the seven I needed at an antique store for 8.-, so so far we are at $40.- for the lights.

Once I got them home and looked at my drill bits I noticed that even my largest wasn't big enough for the task so I wound up getting this puppy (which cost another 40 bucks….any suggestion what I can make to get some use out of it???)

Oh my dad is so proud that his girl likes fancy tools.
I was able to use my new to me drill press that I bought at an estate sale when we first got here.

The only way that I could drill them was by cutting a piece of wood for the inside so it doesn't get all bent out of shape when I secured them with the vice.

After they were drilled I took the bulb out and put the "shade" between the bulb and the socket…some holes were a tad big, others I had to work a bit to make it fit, but over all everything worked out fine.

Now these are my "I'm so excited that they're done and look cool" pics, I'll share better ones when we have them hanging out on the porch


So that's my project - hope you like it! But stay tuned, another idea hit me,  to be continued!!

Aloha A Hui Hou!!

Saturday, January 26, 2013

A Little Somethin, Somethin

Not an exciting entry, just what I drew on the chalk wall for Christmas.


I couldn't think of anything spectacular for New Years, so right now it's just a chalk-ie mess.

I'm going to have to get a spray bottle to clean it up as the eraser is ripping up on the magnet paint and when I wipe it with a wet sponge, the sponge falls apart and I just have a chalk mess.

That's all for now folks!

Aloha A Hui Hou!

Tuesday, January 15, 2013

Forest for the Trees

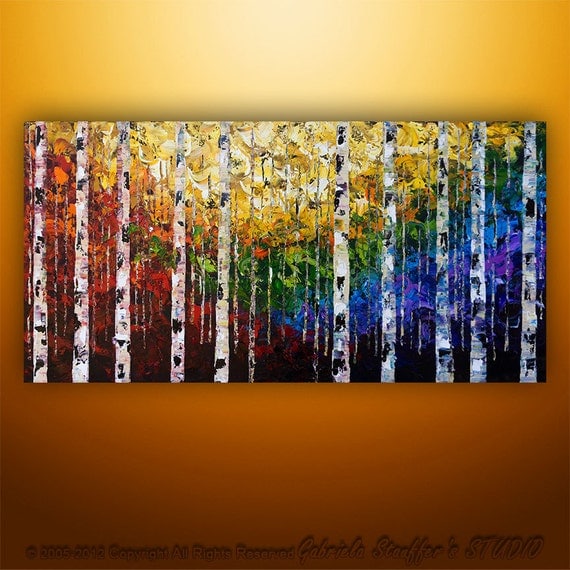
This is another thing that I found on pinterest/Etsy that I really liked was this Birch Forest painting

you can find it here
Now that we had the Birch tree forest on the wall, I thought a painting like this would be perfect for over the bed.

When I started it I thought I should make it a four seasons piece of art. You know, splitting up the canvas in 4 parts and color each in different seasonal colors.


You see? Like this


My next step was to use the stencil to get the trees on the canvas - not that I couldn't paint them, just thought it would look cool if they were the same.

I had to put on two layers of white to get it to cover the background.


Now to give it some dimension


Again, using the stencil, I added the dark tree marks


Of course I had to add a personal note...


To my surprise the painting totally vanished on the stenciled wall


I thought about putting a frame around it, but didn't want it to take away from all my stenciling efforts.

Hubby and my creative friend Nancy said it would look good on one of the plain walls. So that's what I did, hung it on the other wall


So there you go! We have custom art in the bedroom!

Not done yet, though....this is to be continued!

Aloha A Hui Hou!

Wednesday, January 9, 2013

Paint Brush in Hand

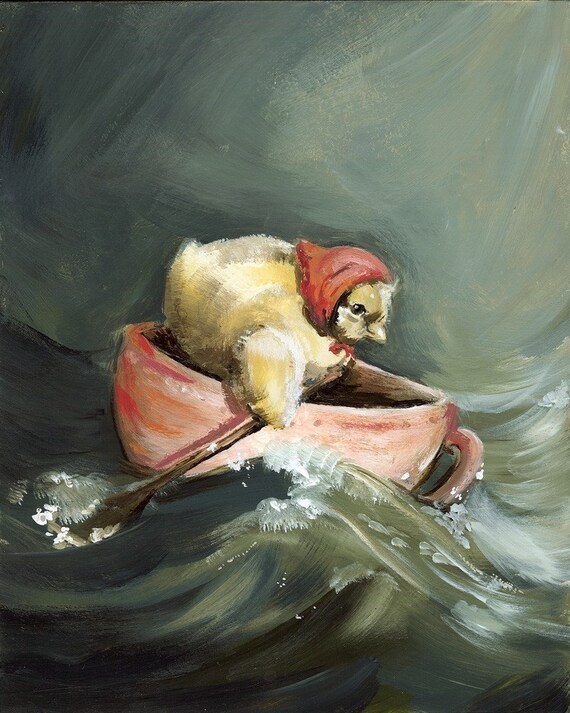
Quite some time ago I saw this painting on Etsy

found here
and loved it.

She was selling it as cards and prints, but I wanted it bigger and on a canvas. The fact that I didn't know where to hang it didn't matter. So there it sat, in my Etsy shopping cart, waiting for me to figure it out.

Fast forward a few months and I'm watching the Property Brothers (love those guys and what they do!) and they were renovating a house for a fun couple. The wife told Jonathan that there is a painting of a pair of cows, by their favorite artist, that they would love to have in their kitchen - and BAM the lights went on - I could hang it in the kitchen!

I was looking forward to our next trip to the house and I could tackle this myself. Little did I know that it would be so soon.

Here is my progress, from blank canvas to finished painting.


First I outlined the chick and the tea cup


Then I started filling in the back ground and the waves using paint brushes, paper towel and my fingers to get the blend of colors just right.


Starting to fill in the cup, highlighting the waves


Giving the chick some life, adding more motion in the waves


Now it's on the wall and looks like it was meant to be there.

Even my Hubby is impressed!

Shared with:

Funky Junk Interiors
Six Sisters Stuff
Craft Berry Bush
Boogieboard Cottage
I should be mopping up the kitchen floor
Under the table and Dreaming
City of Motherly Love

Aloha A Hui Hou!