Showing posts with label DIY. Show all posts

Thursday, July 4, 2013

A Place to Hang My Cup

You know when you've found a good coffee cup when you hold it and if feel perfectly balance, not too hot, your finger doesn't get stuck in the handle….perfect.

Well, I fell in love with this shape from pyrex.


 I haven't found them in my crazy daisy pattern yet, so I'm keeping these on hand till I do.

Anyway, I've always wanted to have cups ready on the counter, but never had the counter space. Now I do! So I went hunting at my local and not so local thrift shops to see what I might find and came across this for the magic price of 65 cents. Mine!


I liked the lines, but it's a little unbalanced and kinda dark, so I got to thinking…..and came up with this


Add a base to it…paint it….figure out how to attach it…Simple!!

Drilled a few holes, painted, sealed, attached with wire and presto - new STURDY cup holder!


Sing it with me….now it's solid! Solid as a rock…dum dum….yeah!

Aloha A Hui Hou!

Tuesday, June 25, 2013

A Little Repurposing

As you can tell by my absence - we are really busy and working hard around the ranch.

In July our contractors come back to start a big project on the exterior of the house - we are getting a new roof for the porch, extending it and enclosing it - can't wait.

I'll fill you in on the details of that later Now I want to tell you about this project, that has something to do with the porch.

When we bought the house my mother in law gave us several boxes with stuff "that we might be able to use" but just never got around to looking at….On this trip I did and deemed that a lot of it was yard sale material and I almost put these in the yard sale pile when an idea hit me…


I could make something out of these….just had to see if I could get the other part I needed.

Went to several stores and finally found what I was looking for at the world market store.

Click photo for source

I picked the 30 light set and I'm thinking right about now you are getting an idea of what's going to happen here…

Right!

I'm going to use the jello molds as lampshades!

But I didn't have enough. I got really lucky at the thrift store and got a bunch for less than two dollars, but it still wasn't enough.

I checked eBay and there were a lot to be had there, just the prices were all over the place and I would still have to pay shipping.

Wound up getting the seven I needed at an antique store for 8.-, so so far we are at $40.- for the lights.

Once I got them home and looked at my drill bits I noticed that even my largest wasn't big enough for the task so I wound up getting this puppy (which cost another 40 bucks….any suggestion what I can make to get some use out of it???)

Oh my dad is so proud that his girl likes fancy tools.
I was able to use my new to me drill press that I bought at an estate sale when we first got here.

The only way that I could drill them was by cutting a piece of wood for the inside so it doesn't get all bent out of shape when I secured them with the vice.

After they were drilled I took the bulb out and put the "shade" between the bulb and the socket…some holes were a tad big, others I had to work a bit to make it fit, but over all everything worked out fine.

Now these are my "I'm so excited that they're done and look cool" pics, I'll share better ones when we have them hanging out on the porch


So that's my project - hope you like it! But stay tuned, another idea hit me,  to be continued!!

Aloha A Hui Hou!!

Tuesday, January 29, 2013

A Stitch in Time


Dating myself here, but I'm a child of the 70's...and a sewing box was something we had to have for Home Ec class. All my classmates had these tiny sewing boxes and I had a HUGE green monster. Knew that sewing would be in my future and would need the storage. 

Well it made it to Germany, but didn't make it to Hawaii with me. I miss it and couldn't find anything like it on the modern market.

I checked ebay and they were there, but the sellers wanted 40 bucks plus shipping...just wasn't willing to pay that much for it.

I continued to dream that I might someday find one.

On a trip to the butcher in Meridian we saw there was a Youth Ranch thrift store that we hadn't visited yet and decide to stop in. 

Image my joy when I found this in their craft department! 


Yes, you read right, a thrift store with a CRAFT department!! I was really amazed by what they had, stamps, beads, patterns...lots of cool stuff.

Anyway, I checked it over and it was in good condition and wait for it.....

They were asking $3.95.

Mine, Mine, Mine!

Now I just need my sewing machine and notions over there and I'll be all set!

Aloha A Hui Hou!

Sunday, January 27, 2013

My Poor Lamp

I was so happy with the driftwood lamp I made last Summer. It looked so unique and special and was so us.


When we returned in December I was sad to see that the driftwood couldn't take the tension of being clamped around the inner post of the lamp and it cracked.

I first tried screwing it back together, but I couldn't make the screw go where I wanted it to go and it didn't look good.

Next try was to glue and clamp it together. Did that and when I took it apart the wood just pulled apart again.

What to do?

Then I thought, we have so many shells, I could wrap silver wire around the wood to hold it together and glue a shell over the twisted wire.....that might do the trick.

On the day that we were out and about I found a box of small porcelain shell ornaments and hubby and I both agreed that one of them would work out perfectly. And it did!


What'cha think?

Aloha A Hui Hou!

Saturday, January 26, 2013

A Little Somethin, Somethin

Not an exciting entry, just what I drew on the chalk wall for Christmas.


I couldn't think of anything spectacular for New Years, so right now it's just a chalk-ie mess.

I'm going to have to get a spray bottle to clean it up as the eraser is ripping up on the magnet paint and when I wipe it with a wet sponge, the sponge falls apart and I just have a chalk mess.

That's all for now folks!

Aloha A Hui Hou!

Tuesday, January 15, 2013

Forest for the Trees

This is another thing that I found on pinterest/Etsy that I really liked was this Birch Forest painting

you can find it here
Now that we had the Birch tree forest on the wall, I thought a painting like this would be perfect for over the bed.

When I started it I thought I should make it a four seasons piece of art. You know, splitting up the canvas in 4 parts and color each in different seasonal colors.


You see? Like this


My next step was to use the stencil to get the trees on the canvas - not that I couldn't paint them, just thought it would look cool if they were the same.

I had to put on two layers of white to get it to cover the background.


Now to give it some dimension


Again, using the stencil, I added the dark tree marks


Of course I had to add a personal note...


To my surprise the painting totally vanished on the stenciled wall


I thought about putting a frame around it, but didn't want it to take away from all my stenciling efforts.

Hubby and my creative friend Nancy said it would look good on one of the plain walls. So that's what I did, hung it on the other wall


So there you go! We have custom art in the bedroom!

Not done yet, though....this is to be continued!

Aloha A Hui Hou!

Friday, January 11, 2013

What to do with the Bedroom?

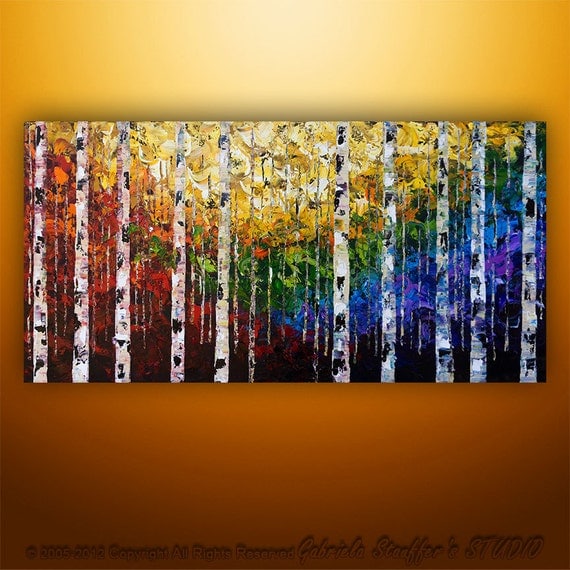
In the planning phase I was thinking of putting reclaimed wood on the wall behind the bed.

Two things made me drop that idea. First was that it might be too heavy and make the room look and feel smaller. Second, I didn't want to spend 1000+ bucks on it.

So I started looking at my other idea, stencils.

I really liked the birch tree forest stencil that Cutting Edge Stencils was offering. Stopped by their site almost every other day, drooling over it.


When it went on sale in November, I jumped on it. I watched their tutorial videos, read up on the technique and was sooooo ready when we got there.

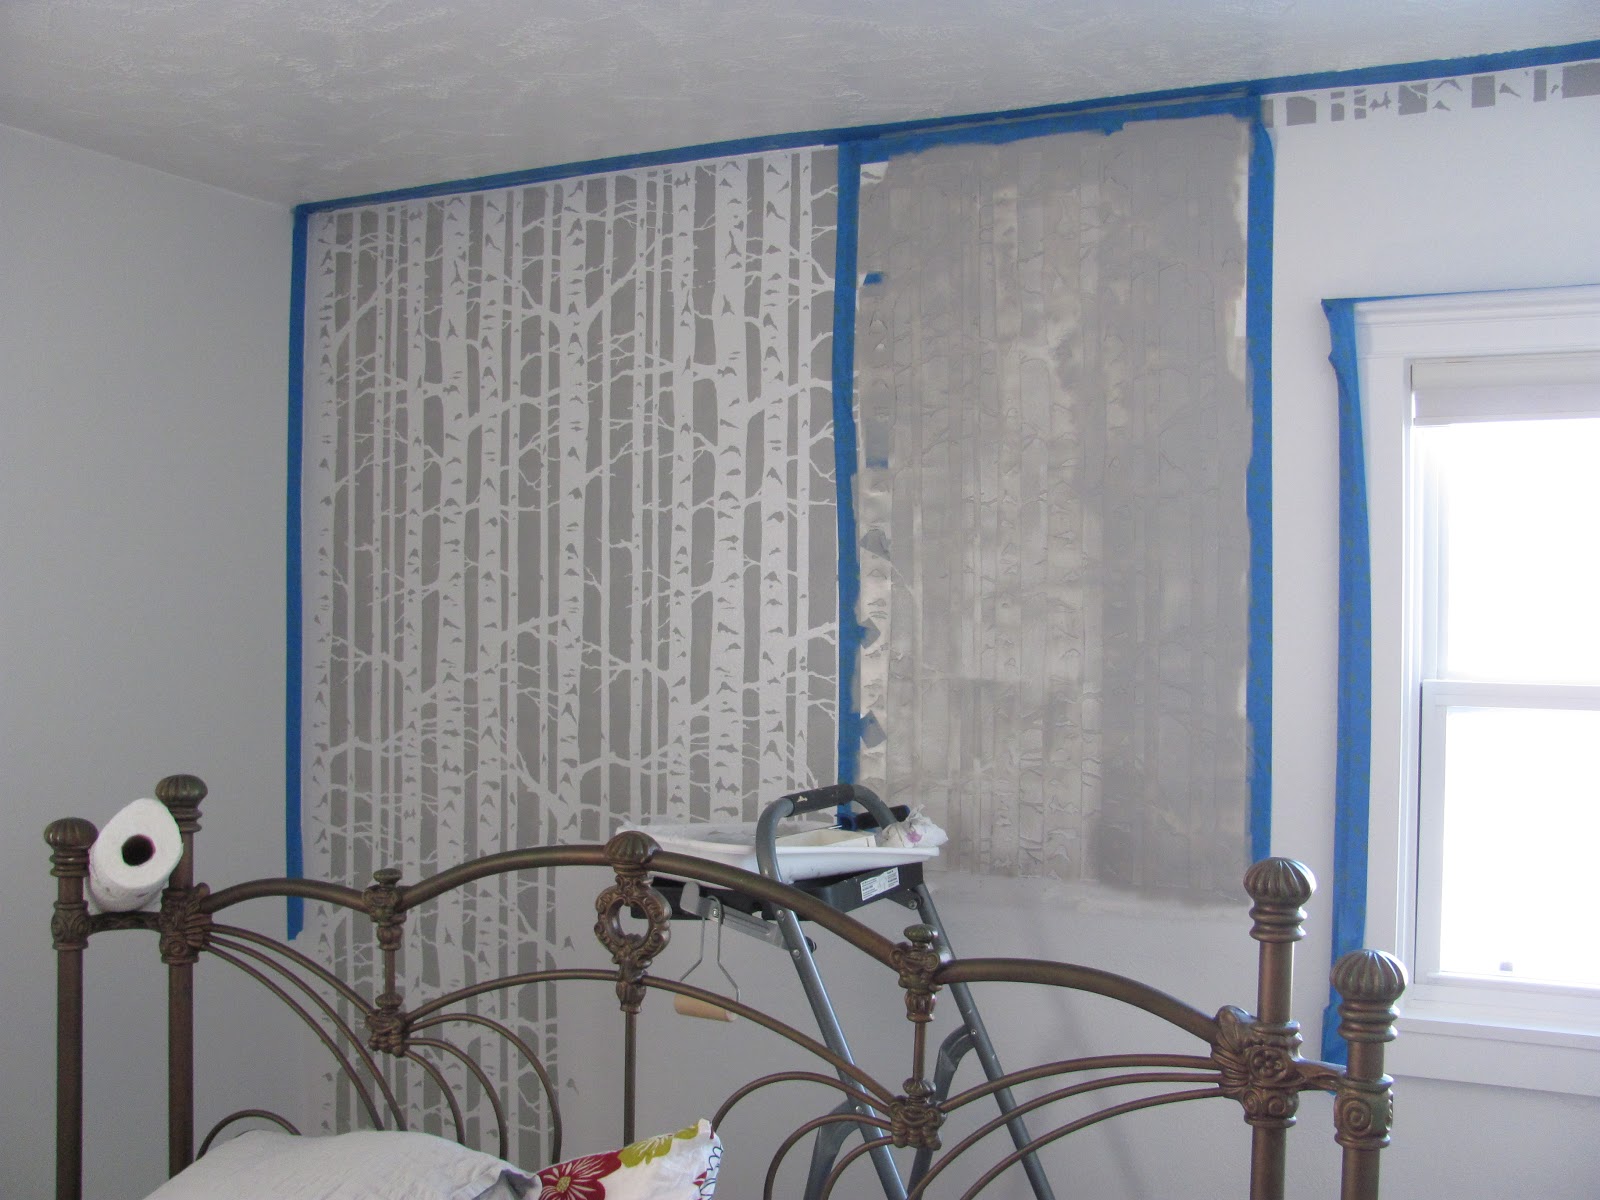
Because the stencil was a negative stencil (stenciling the back ground and not the tree) the first thing I had to do was paint the wall white.

You can't see much of a difference, but there is.


My roller brush was ready to roll, but I'll admit, I was a bit scared to start...


Ok, first bit done. Looks like a barcode, doesn't it?


It was at this stage that I realized that because the walls are textured I'm going to have to put spray glue on the back of the stencil.


After the 3rd application I started to notice that the edges are not as crisp as the first use.

I hurried down to the laundry room to clean the stencil. What a piece of work that was!  We have a large utility sink, but it wasn't wide enough to lay the stencil flat.

The paint that peeled off the painted side stuck to the spray glue on the other side....in short, it was a mess and absolutely no fun to clean.

But I started, so I had to finish the job.


After each application I stepped back and loved watching the forest grow before my eyes.


As you see, the left corner is really narrow. I didn't want to fuss with trying to squeeze the stencil in there, so I just turned it into a wider tree.

Down the road, when I find the right ones, the curtains will cover it up.


Done!

It was so worth the effort and we love, love, love it!

Shared with:
Funky Junk Interiors
City of Motherly Love

Aloha A Hui Hou!

Wednesday, January 9, 2013

Paint Brush in Hand

Quite some time ago I saw this painting on Etsy

found here
and loved it.

She was selling it as cards and prints, but I wanted it bigger and on a canvas. The fact that I didn't know where to hang it didn't matter. So there it sat, in my Etsy shopping cart, waiting for me to figure it out.

Fast forward a few months and I'm watching the Property Brothers (love those guys and what they do!) and they were renovating a house for a fun couple. The wife told Jonathan that there is a painting of a pair of cows, by their favorite artist, that they would love to have in their kitchen - and BAM the lights went on - I could hang it in the kitchen!

I was looking forward to our next trip to the house and I could tackle this myself. Little did I know that it would be so soon.

Here is my progress, from blank canvas to finished painting.


First I outlined the chick and the tea cup


Then I started filling in the back ground and the waves using paint brushes, paper towel and my fingers to get the blend of colors just right.


Starting to fill in the cup, highlighting the waves


Giving the chick some life, adding more motion in the waves


Now it's on the wall and looks like it was meant to be there.

Even my Hubby is impressed!

Shared with:

Funky Junk Interiors
Six Sisters Stuff
Craft Berry Bush
Boogieboard Cottage
I should be mopping up the kitchen floor
Under the table and Dreaming
City of Motherly Love

Aloha A Hui Hou!

Wednesday, December 26, 2012

A Gift for Us Both

Back when we were "dating" we would chat with Yahoo! Messenger and at the end of every chat we wrote "Huggies and Bussies (german slang for kisses) and never let you go"

It was our thing.

No I have been window shopping at One Kings Lane and keep seeing these canvases with phrases on it and it got me thinking

HEY! I can make that! and that's just what I did.

For the background I used an underwater photo and then just layered it. Hope Hubby likes it!

Aloha a Hui Hou~

Thursday, December 6, 2012

Our Rooms Are Now Full

We never planned on a dining room.

Our table in the kitchen is enough for the two of us.

If, in the future, we entertain, it will be in the Summer months, were we can eat on the back lanai (your Hawaiian word for the day = porch).

So I was kind of surprised when hubby brought this listing on Craigslist to my attention


Real wood, chunky legs and unique wood work table top. We liked it and thought, for the time being we can put it in the wood room and at least have a place to invite our neighbors over for game night.

So it is now ours and standing in the wood room.

Phone pic - Thank you Peggy!

Don't you agree, it looks pretty good in there?

Can't wait to get my hands on it. Reupholstered the seats and see if there is anything else we might need to touch it up.

Oh and I did ask the lady that sold it if she has any info on the set. She told me it belonged to her aunt, who is in her 80's, and it was from the 30's or 40's. I'll be going over with a fine tooth comb to see if there are any stamps or labels that can tell us more.

There was a time when I wanted new, new, new....but now I am very happy to fill our home with history.

Aloha a Hui Hou!